Sunday, December 23, 2012

Christmas at our house 2012

I can finally breathe a sigh of relief because everything is wrapped and the house is ready for the holidays.  We are having our traditional Christmas Eve party tomorrow night, then we stay home in our jammies and play all day on Christmas. 


Instead of making a wreath this year I bought a swag at whole foods and put our initial on it like I did
last year.

A nursery close by was selling tree tops for five dollars so I bought a couple for the outdoor urns.  Then I used leftover Christmas tree branches and some store bought greens to fill in all around it.  Simple and so easy!


For the little urn I replanted a little boxwood that I had in a clay pot this summer and then I used leftover greens again to fill in all around it. 


I went with real evergreen garland this year and it makes all the difference.  You can see before and after pictures of the exterior transformation here.

Let's head inside for a look around....


I kept the snowflakes going from our Christmas card photo shoot but changed the words.  We are really wishing for snow this winter. A white Christmas would be even better!

We always head out to the tree farm to hunt for the perfect tree. This year we were wandering around for over an hour looking for just the right one.


This guy is on the skinny side because I was a little traumatized by the size of our tree last year, he blocked out all of the sunlight it was so big!


Our big tree has special ornaments that have been collected for years.  The Eiffel Tower is new this year from Pottery Barn. 

I went with white and brown craft paper again and dressed them up with pretty ribbon. 


I am loving these chalkboard tags from Martha Stewart, chalk markers help your message stay put.  You can even erase and rewrite using a damp paper towel. 


More chalkboard on the faux mantel in the dining room.


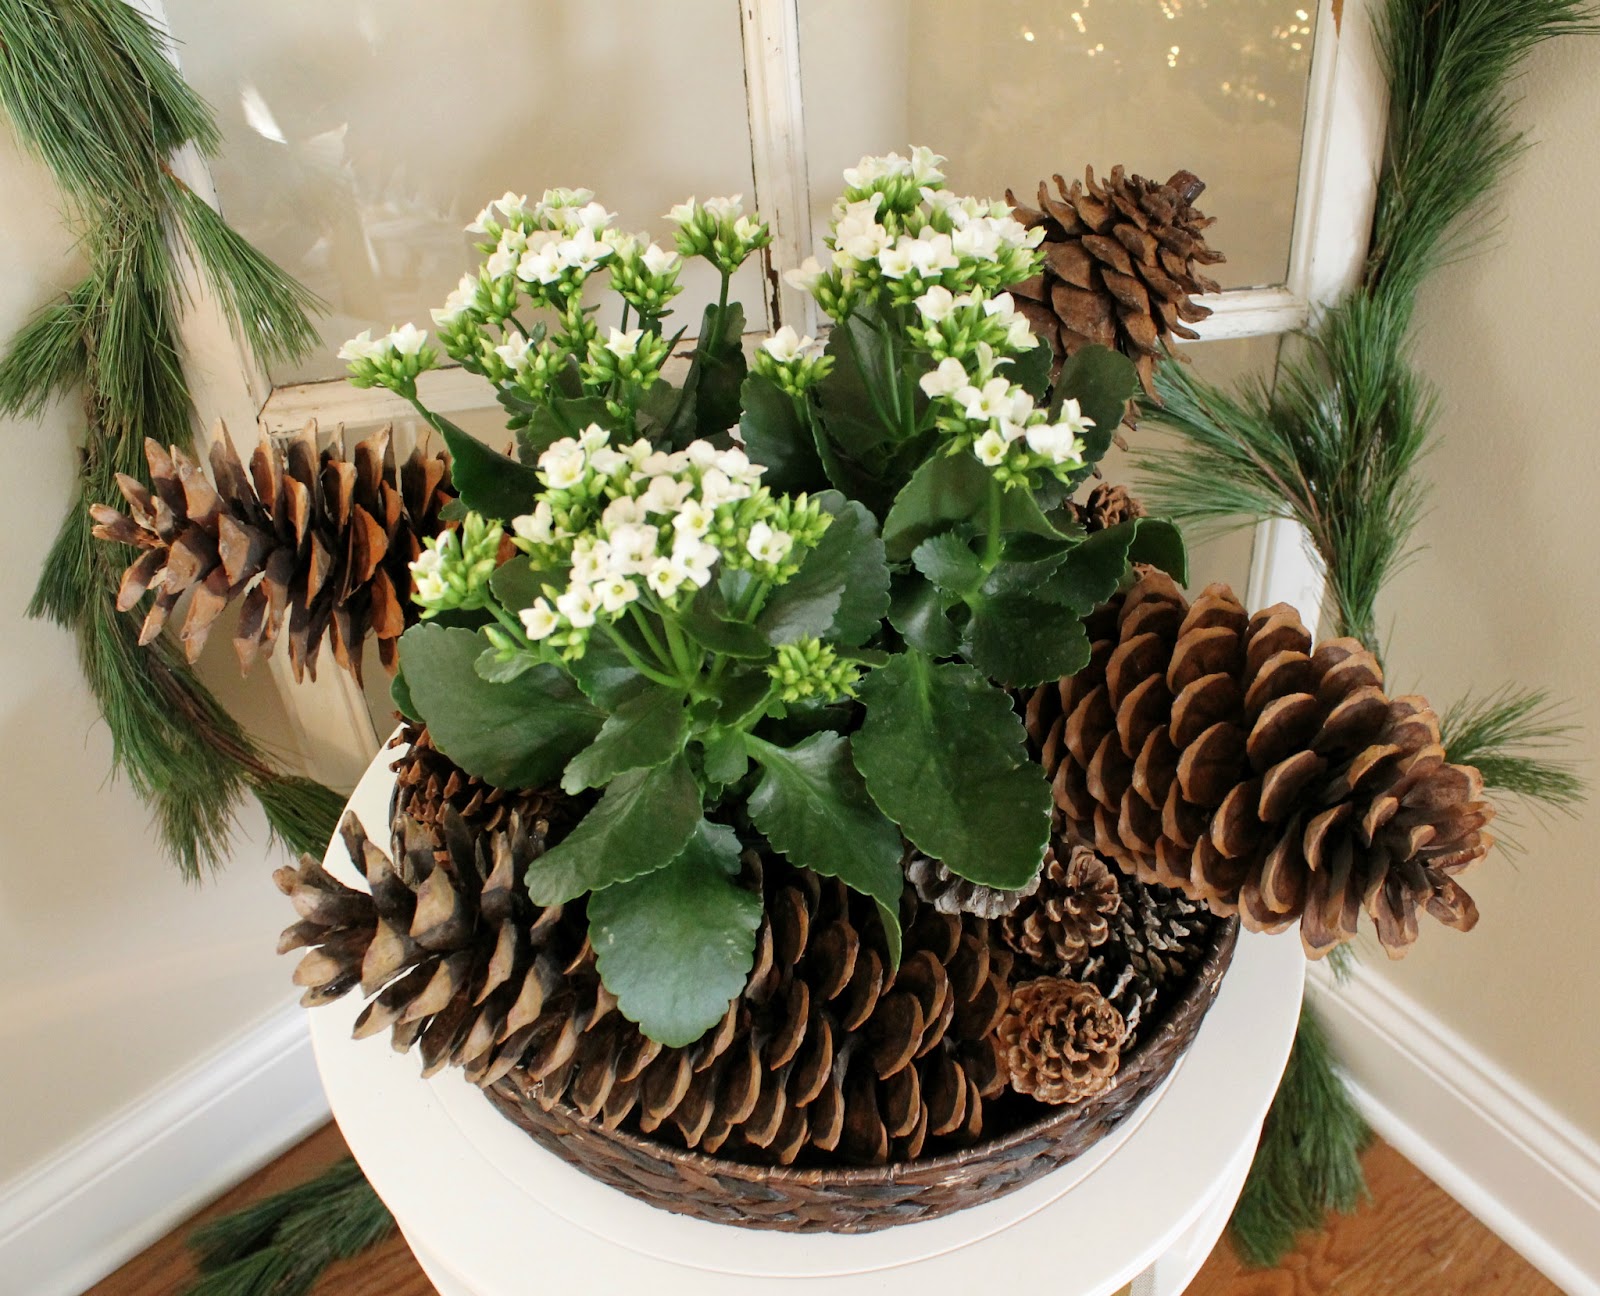
I had fresh garland hanging around the old window but took it down when it wouldn't stay put so I replaced it with a fresh evergreen swag.  


The little dresser in the hallway got some lovin too.


Remember the five dollar tree topper I talked about for the outside urns?  Well, I had a genius idea to use one as a table top tree.


I popped one into a galvanized pot held in tight with florist foam and got decorating.


Here it is all decked out in a woodland theme sitting on the buffet in the kitchen.  As you can see I gave it a good spray with some "snow".


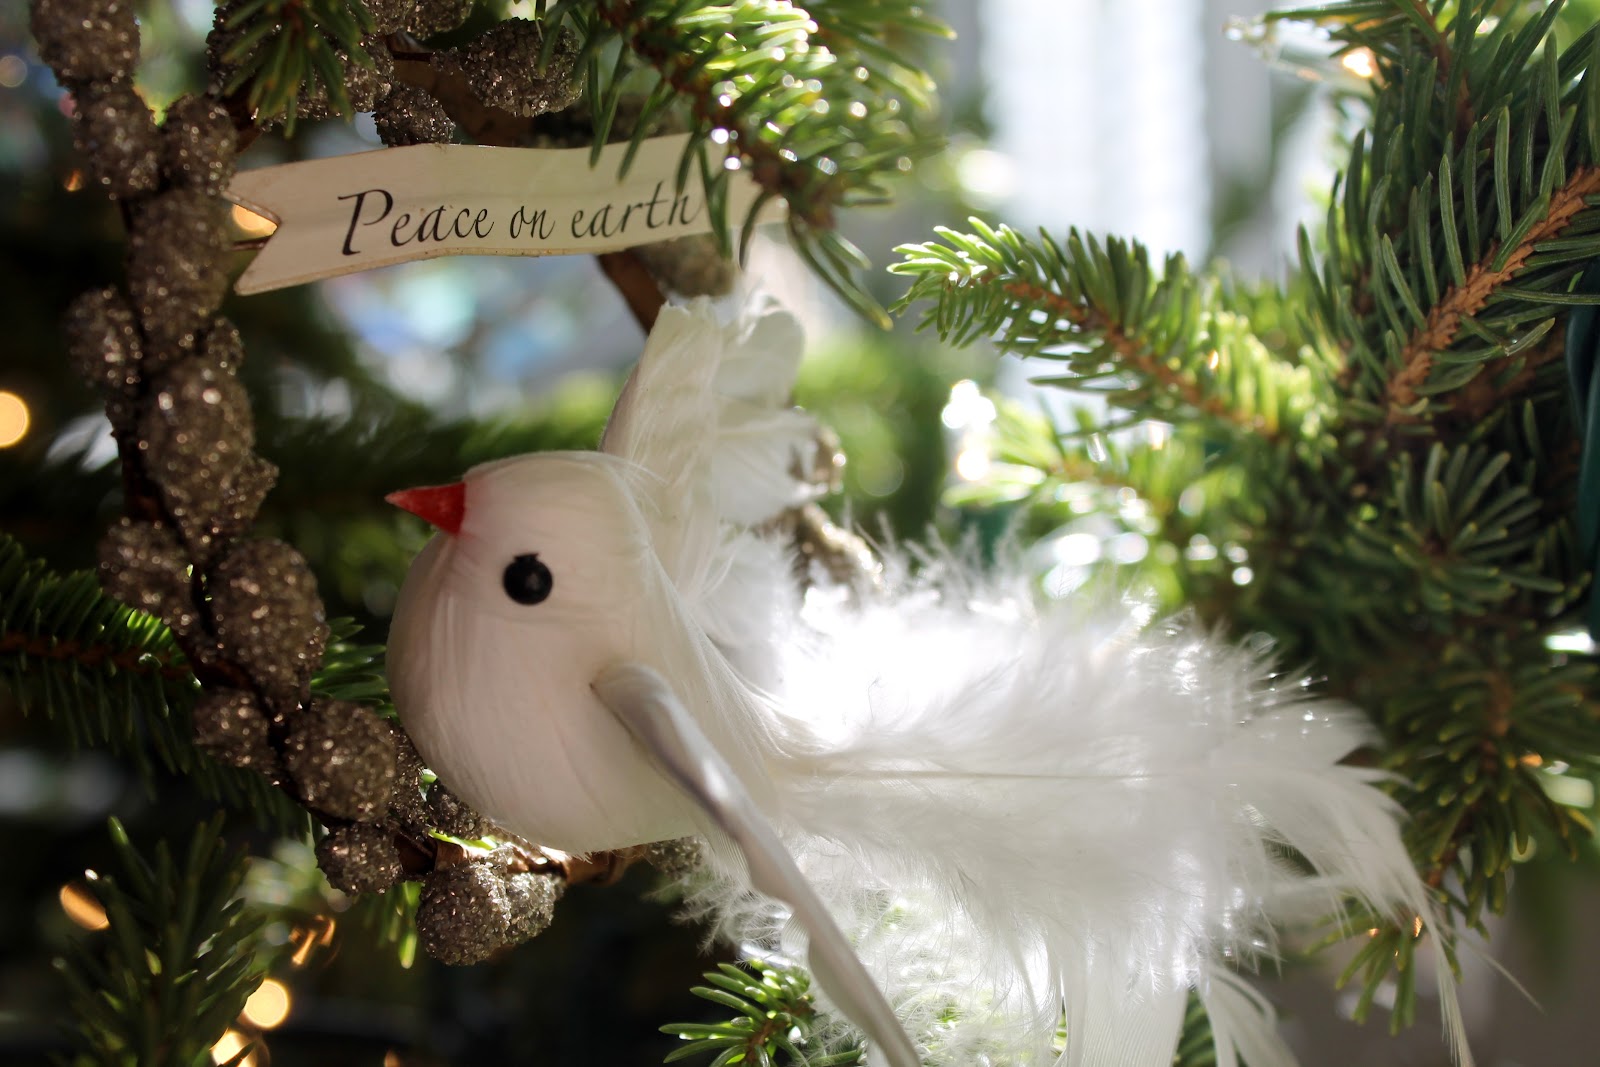
A few new ornaments like these acorns mingle with garage sale pinecones. 


And cute homemade mushroom ornaments. Tutorial found here.


I put together a Yule log using a birch branch, moss, acorns and a mushroom ornament from Target.  The center is hollowed out a bit to hold the moss. 


The squirrel is new this year too, I love his sparkly tail!


I will end this very long post with a couple bokeh pictures I had fun playing around with.  I was inspired to try it out after reading this post from Honey We're Home.  I was so excited it worked!


From my family to yours, I hope you have a very Merry Christmas!


Sharing with the Nester for her famous Christmas Tour Of Homes.

Friday, December 14, 2012

Christmas card picture 2012

I should not be sitting here all cozy on the couch with my laptop writing this post because I still have a ton to do around here before the day is over.  We are heading to my dad and stepmom's log home in Wisconsin tomorrow, then when we get back on Sunday, my mom and her husband are coming over for an early Christmas get together.  I work well under pressure so it will all get done, it always does.

I usually take the little one's Christmas card picture in front of the tree, but this year we needed to do something different.  When she lost one of her front teeth earlier this month, I wondered if she would lose the other one in time for Christmas.  You know...so she could sing "All I want for Christmas is my two front teeth"!  I melt for her toothless smile. 


As you can see the other tooth came out just in time for pictures.  I know you guys have seen our kitchen chalkboard wall many times, I even took pictures of the little one in front of it for some of her first day of school pictures.  But lots of family and friends have not been over exposed to it so I thought it would be fun for the occasion.

Here are a few outtakes that didn't make the cut...


This was the last picture I took during our quick five minute photo shoot.  I can take a hint.

Ok, off to get everything checked off my list today.

Have a great weekend!


Thursday, December 6, 2012

giant pinecones for Christmas

Well hello there.  I thought I would pop in today and share one corner of our home that is ready for the holidays.  I have been trying to get some order to this crazy house full of Christmas boxes and everything else so I can finish decorating.  The dining room table is buried and the floor isn't looking much better!  Little by little right?

Yesterday I was spinning my wheels working on a few projects only to finish this ten minute arrangement using my favorite giant pinecones.

 
I had planned on using paperwhites but I didn't plant the bulbs in time so I picked up this flowering plant at Home Depot.


Small pinecones are good fillers for the empty spaces between the big guys.  I don't think there is a time of year you won't see a pinecone or two at our house, we kind of love them.

 
A quick draping of fresh garland and a Merry Christmas sign wraps up this little corner of the living room.


I'm off to find my dining room table and finish a few more projects.  Have a fabulous day today!


Sharing with Rhoda @ Southern Hospitality for her holiday vignette party.

Wednesday, November 21, 2012

Thanksgiving arrangement

Do you still have a few pumpkins hanging around?  We had lots of them so I carved a few to use as a festive vase.

 
This is so quick and easy I thought I would share, the possibilities are endless.
 

First carve out your pumpkin of choice, it doesn't have to be perfect.


Find a container that will fit snugly inside, I used a small mason jar for this one. 


Add your flowers and enjoy.  A perfect addition to your holiday table or as a hostess gift.
 
 
I hope you have a wonderful Thanksgiving!


Tuesday, October 2, 2012

The Seasons Under Glass

When I put my winter "snow globe" together last year I didn't really plan on changing it out for the seasons the way I have. 


Pinterst is a constant source of inspiration and it got me again this summer when I saw this butterfly cloche from Martha Stewart.  And since we have a strong love of butterflies at our house I knew it would be a perfect project to try out.


 For example, we had a Monarch butterfly for Halloween last year....


Butterfly Party  this spring....


And of course checking out the real thing at a butterfly garden is a favorite. 


This brings me back to that butterfly cloche from Martha and why I just had to recreate it.
 
 
I had everything I needed for this project so it was easy to put together on the fly.  After gathering up some sticks from the yard and a few of the little one's special rocks I made a stick tee pee held together with hot glue. 


I also used a few pieces of tree bark to lay around the bottom and cover the hole in the middle since my base is an old clock.  I loved this display and was sad to see it go but fall is here and it was time for a change. 


After carefully pulling the butterflies off and before throwing the sticks away I tried out a black bird that we had in our fall/Halloween bin just to see....


Me and my little helper liked him there so I added a pumpkin and left a couple of the rocks and tree bark and called it done.  Now that is what I call an easy fall decoration.


Sharing this post with Young House Love  for the spring pinterst challenge.


Site design by FABULOUS K CREATIVE