Monday, October 31, 2011

Halloween porch

Hello dear readers.  I wanted to pop in and share a few pictures I took this morning after sprucing up the porch.


It's quiet around here again and we have our driveway back since the house is officially done.  Well, except for a few touch ups here and there but that shouldn't be a big deal.  I planned on posting as the house renovations progressed but that just didn't happen. 


So I'm giving you a little peek of the house today with more pictures on the way.


I found the mouse silhouettes at Michaels...gotta love that Martha Stewart. 


I'm off to get our Monarch butterfly ready for some trick or treating.  Happy Halloween!

***Update*** To see the finished exterior makeover click here.

Tuesday, October 18, 2011

Two windows a portico and soffits

So much has been going on with the exterior remodel, just not enough time to post.  For starters, the non existent soffit on the front of the house has been extended.  At first we talked about building them out to twenty four inches but I changed my mind and went with eighteen, the back of the house will be the same. The side soffits hung out at about five inches, now they are twelve. 


The old shingles were removed after the roof extensions were framed...that way the shingles will all match.  Our roof was almost twenty years old so we were going to need a new one soon anyway.  And looky there...my little portico was starting to take shape.


A reminder of what the roofline looked like before.  Also, take note of that single window sitting all by himself.


I have been talking about adding another window to the front of the house for so long.  So when the day finally came we were ready.  Our house was built in the forties so we made sure to take precautions for lead paint.  If you have ever cut through plaster walls, you know what I'm talking about when I say it's going to be a huge dusty mess.


Now let me tell you about the mistake.  See the new windows in the picture above?  Well, right after it was installed something didn't feel quite right.  I couldn't put my finger on it but I wasn't as thrilled as I thought I would be.  When Mr. 65th got home he knew right away that we needed two separate windows instead of one unit. 


Remember this horrible picture of the living room windows?  Two separate windows.


Well now we have matching windows....two separate matching windows.  Much better. 

I have to say that being on the job and having to make quick decisions here and there without another opinion has been tough.  Especially when I had to be a big girl and tell our guy that he had to rip out the window he just put in.  Not fun.


I have a big crush on porticos and brackets, so you can only imagine how excited I am to share this picture.  If I was on pinterest...which I really need to be...you would be able to see all the portico and bracket inspiration I dug up.

Oh, and here is a sneak peek of the siding color.  Remember how crazy I was trying to pick a color?  Well I am happy to say...I love it. 

Until next time.

Wednesday, October 12, 2011

The Sixty-Fifth Avenue makeover

Part one of ???  The exterior remodel has finally begun.  I am so very excited but I have to admit, there are a few nervous butterflies in my belly too.

The plan for our little casa is to bring in some character and dimension to the flat facade.  (You can see the plan here if you missed it.)  Some old houses were built that way, but not ours. 

I thought I would start off with some really ugly pictures.  It can only get better from here right? 

When taking the layers off an old house you can never be sure what lies beneath. 


Turns out, when someone installed vinyl siding over the original wood siding, they added a layer of insulation.  It's old, but good news since we had a feeling the walls were not insulated and we would have to have that done before the Tyvek wrap went on.  The lovely picture you see above is two of the living room windows on the side of the house.  


The one above is of the front living room windows.  Someone long ago thought a bit of fake stone would look nice wrapped around just one lower corner of the house.  I was happy to have it hidden for most of the year once the Japanese maple grew up.


Then winter would come and there it would be again.  When we added the decorative trim around the front door, we beefed up the trim above the windows to cover the holes left from the metal awnings we ripped down.  The door trim turned out great, but the window trim always looked like it was just tacked on....maybe because it was. :)  The neighbors across the street were surprised to see it being ripped down already.  A new portico will go over the door.

Today the plan is to replace a single window with two on the front of the house.  Three would be better to balance the front of the house but our bedroom is too small to handle that.  How silly to have one sad little window all by himself!  For a symmetric kind of girl this makes me crazy. 


Did I ever tell you about the day we went to see Sixty-Fifth Avenue for the first time?  No?  Well, the house was for sale by owner so we set up a time to come over.  When we pulled up I took one look and said to Mr. 65th...drive away...quick.  It was that ugly.  Then the nice lady of the house came out waving us in...we were stuck.  I walked in with the attitude that we would just run though and leave.  But I started seeing potential and by the time we were done with our tour I was squeezing my new husband's hand.  The rest is history.

I love having a place to write about this project and document our progress.  Stay tuned if you want to see my attempt to create a craftsman style cottage with the budget on hand. 

*edit*   I wanted to add that this project will be left to the professionals and won't be a DIY project. 
 (It seems I can't even leave a comment on my own blog...not sure what that is all about.) 

Wednesday, October 5, 2011

Silhouettes

I have been wanting to make a silhouette of the little one for quite a while now.  And after sitting down to make one I wonder what took me so long, this is such a quick and easy project. 


Maybe it was because I didn't have the right spot to hang one.  Then the other day I started playing around with plates for a plate wall and the light bulb went on.


You see, after I finished painting a dresser on a whim, it became clear that something new was needed for the walls as well.  I remembered seeing a tutorial on how to make a quirky silhouette plate, I just don't remember where I found my original information.


Before I share the newly painted dresser and plate wall, I thought a quick explanation of how I made my silhouette would be fun.                                                                             


First take a picture of your model...its ok if she seems unhappy about it...your project will still turn out ok. 

By the way, we got a siding delivery the other day so work will be starting on the house soon!


I had my picture printed as a 5x7 and cut it out adding some detail to the end of her pony tail.


Then I traced the picture onto scrapbook paper found at Michaels and cut that out.  Using a paint brush I applied a thin coat of mod podge to the center of my plate and pressed my silhouette in place with my fingers.  Oh yeah, I added a tiny strip of paper for an eyelash since my picture didn't have one.


After the first coat was dry I painted another one right on top of my paper silhouette.  That's it...let it dry and you're done. 


Tuesday, September 27, 2011

Faux fall mantel

It was important to have something a bit more permanent on the mantel for fall.  This spring and summer it was always changing with whatever flowers or greenery I brought in from the garden.  That means it was sitting empty a lot of the time too...I didn't like that part.


We spent the weekend at my parent's house in Wisconsin.  Homemade pizzas were made, marshmallows were roasted and apples were picked.  My mom and I even got away for a few hours to go hunting for treasures at the flea market.  I had some fantastic pictures from the weekend that I accidently deleted.  That will be the last time I delete any pictures on my camera, I will wait until they are on my computer from now on.


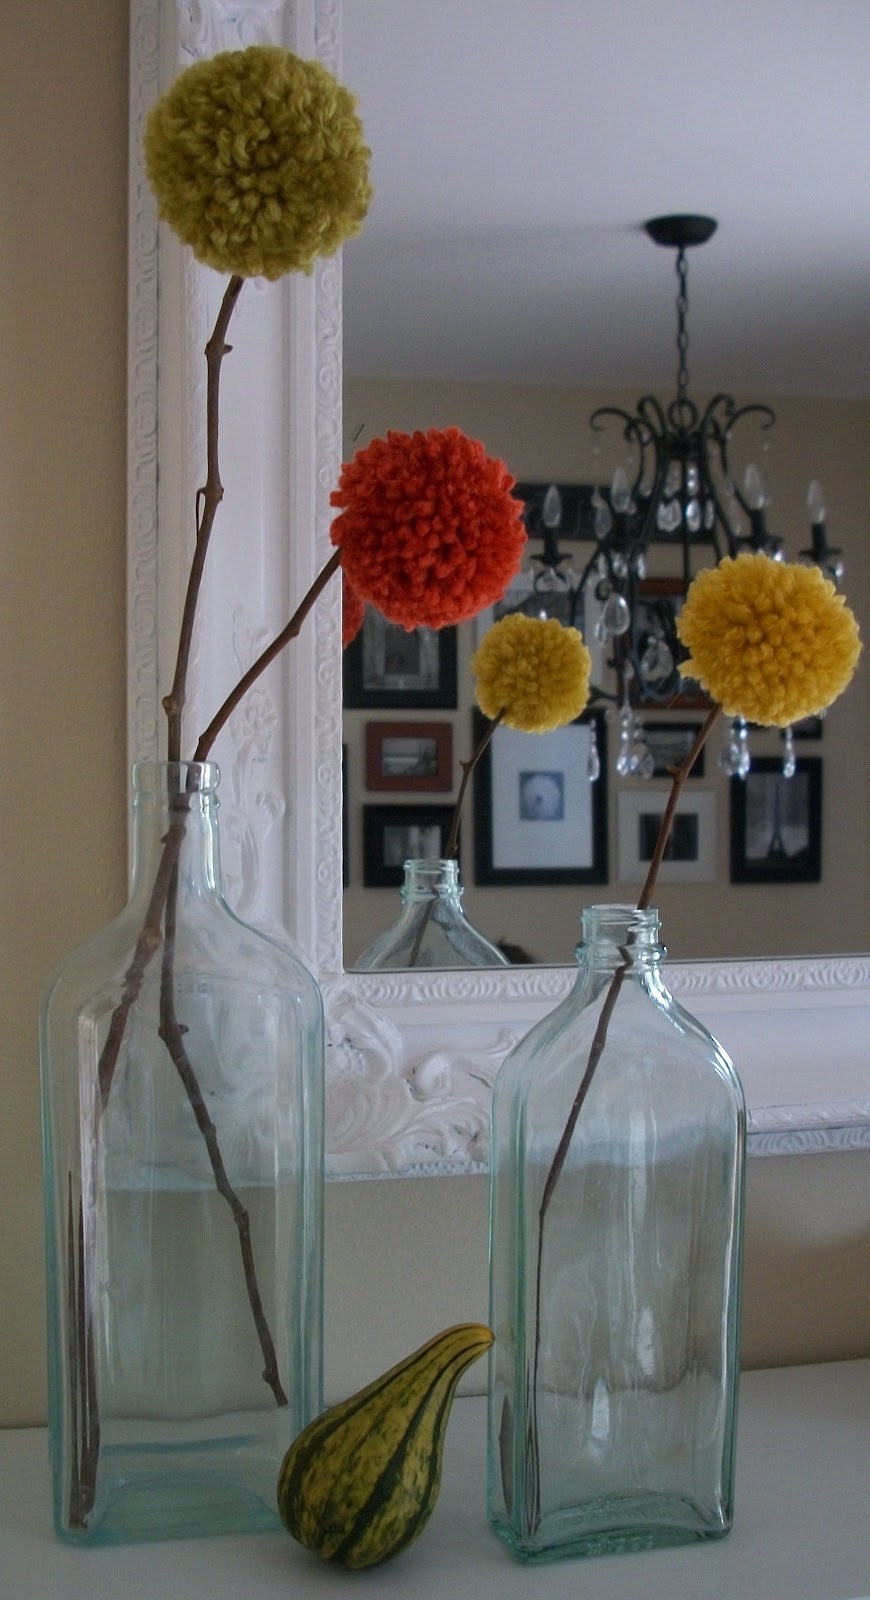
Anyway, one of the first booths we visited was my favorite of the day.  I found a couple of the medicine bottles and the poofs on sticks there...the vendor corrected me and called them Cornflowers. :)  Such a cute idea!  I love them and need to find out how to make them.


I picked up a few little pumpkins at a farm stand to tide me over until we make it to our favorite pumpkin farm in Michigan.


The wreath is a find from Home Goods.  They just opened a store about five minutes from me and I have to say, I'm pretty excited about that.  It was too small on its own so I layered it with a frame I found at Goodwill a while ago.   Not 100% sure the wreath will be staying here though...I have a feeling it will move into the living room to hang on a smaller mirror.


We definitely don't have a frame shortage going on here in the dining room :)


The Lettered Cottage

Wednesday, September 21, 2011

The little black dresser

I just couldn't help myself with that title.  This furniture before and after is dedicated to my Aunt Di.  She is a very patient person who asked me to paint this little guy up for her ages ago. 


He wasn't looking so good when I first laid eyes on him.  Orangey colored wood, ugly hardware....the usual. 


Aunt Di saw his potential though with the curvy top drawer and nice looking side profile.  It was the perfect size for a night table with lots of storage too.


I started out by filling the existing hardware holes with wood putty.  The trick to getting a flawless finish is waiting until the putty is completely dry before you sand.  A second application might be needed.


I gave the whole piece a light sanding and gave it a light coat of kilz primer before I started my first light coat of paint.  I ended up doing three coats on the top and two on the rest of the piece sanding with fine paper in between each coat.  The guy at the paint store recommended Shur-Line trim & touch up rollers when I was painting the front door.  The results were fantastic so I used them again for this project along with my trusty Purdy brush.


This story ends with new glass hardware and a little distressing using 100 grit sandpaper.  


Sharing with Miss Mustard Seed for her furniture feature friday party and with Primitive & Proper's Piece of work Wednesday


Tuesday, September 6, 2011

The painted front door...part two

Hello.  I hope you all had a nice long weekend.  We did some barbecuing, played outside and shopped for exterior lights.  I also started painting a small dresser for my Aunt who is waiting oh so patiently.  Today is a beautiful day and it looks like the windows will be open all week.  I love having fresh air blowing through the house don't you?

The front door is painted and dry.  I ended up putting just one more coat of the new color on.  I used Benjamin Moore's Aura exterior in black.  That paint is awesome.


Below is a picture of the door painted BM Black Jack, remember I thought it looked a bit bluish?  I'm scrolling up and down and don't see much of a difference in these pictures.  In person it does look darker and I'm happy with the way it turned out.  I used a low lustre finish so I think that makes a difference in the way the color came out.


Now let's talk about storm doors.  I found out that a door that gets more than a couple hours of direct sun and is painted a dark color is not a good combination for a storm door.  The glass will trap too much heat against the entry door and could damage it. 


For the first time we took the glass out and added the screen so my new paint job will last.  I've never liked the way the storm door looks and I'm thinking about removing it.  


Much better this way don't you think?  If we lived in a mild climate I wouldn't even have to think about it but our winters can be harsh and long and I wonder how efficient the wood door alone would be.  Anyone out there have a wood door without a storm door?  I would hate to have us freeze just for aesthetics. :)

I can't wait to see how the door looks with the new siding and will share pictures once things get started.

Tuesday, August 30, 2011

The front door... part one

Or maybe this is part three or four since I've been working on it everyday since Saturday.  We are waiting around for the new siding to come in so I thought this weekend would be a good time to give our front door some love.  We replaced a beat up steel door with a Douglas fir door that I stained years ago. 


There were ugly metal awnings above the door and windows that we took down about a second after we got the keys.  Mr. 65th added the molding and trim to cover the damage from taking the awning down and to beef up the entry a bit.  This will all be removed to add the portico. 


I didn't put enough coats of varnish on the door when I originally stained it and neglected to keep up on the maintenance so it wasn't looking very good lately.  Saturday I started out by giving the door a good sanding to remove any varnish so I could re-stain it with a richer color.  Things didn't go as planned though.  The picture above shows how it looked after I stained the two panels.  The stain was sticking to the bare spots and looked terrible.  I would need to strip the entire door down to bare wood in order to get even coverage again.


Going into this project I had a feeling it might not work out and that I might end up painting the exterior side of the door.  I was ok with this but I had to try to salvage it first.  Mr. 65th pointed out that most of the exterior pictures I have saved for inspiration had painted doors and not to feel guilty about it.  Good point. 


I used a tinted primer and started my first coat of black paint...so far so good.  Or so I thought.


Here it is as of this morning with two coats of paint.  I can still here myself telling Mr. 65th as I left for the paint store...."I'm off to find the perfect black color!"  Well guess what?  This is not the perfect black for this project.  I used Black Jack by Benjamin Moore.

It looks black from the street but inside it looks a bit navy blue or really dark gray.  Can you see what I mean in relation to the black frame?  I'm such a silly goose...I have no idea why I needed to get fancy with the color.  I went back to the paint store today and picked up more paint.  It's the perfect color called.... Black.  I'll be back with a few more pictures.

Saturday, August 13, 2011

Artwork from a book

I wanted to pop in and say hello before we head out for a late summer vacation to Michigan. No progress on the exterior of the house just yet...we made some changes to the plan so that delayed things quite a bit. I'm hoping work will get started in the next few weeks. We have been planning this since April so I am ready to go! I will be so excited to see the work trucks pull up in front of our house for once...we are  DIYers so it will be fun to watch the progress without breaking a sweat.

Today I wanted to share one of my favorite books with you...


A book that has great artwork. A book that might make you want to rip out some of the pages
to frame.


One that even looks pretty sitting on a table top.

This fabulous book was a gift for my birthday back in the spring...I had big plans for it the second I saw it.


Remember the hallway project we started ages ago? If not you can read about it here  and  here.  It's been forever I know. I was just about finished when we started making exterior plans so it fell by the wayside.

Anyway, I have a few of these prints sitting on the new beadboard ledge in the hallway. I found the frames at Michaels for three dollars a piece. Can you believe that? Three dollars! At first I thought I might paint them but once the prints were inside I really liked the frames as is. 

I will share pictures of the completed room later next week when we get back. Cross my heart. Oh, and the book was bought at Barnes and Noble, just incase you wanted to hunt one down for yourself.


Site design by FABULOUS K CREATIVE