Tuesday, March 19, 2013

Backyard Ice Skating

Since we still have one more official day of winter I thought I would share our ice rink with you today.


I have always loved ice skating so building this rink was kind of a childhood dream for me.  This winter we started spending a lot of time at our local outdoor rink and the little one started taking lessons so it was the perfect time to give it a try.  I started my research right away on the best ways to build one and how to maintain the ice for a smooth finish.


Then came the part where I had to convince Mr. 65th that this was a great idea.  The weather can be unpredictable here in Chicago so we weren't sure our rink would be a success.  As you can see we went for it and started to assemble the frame.

We used left over cement board siding for the frame and used wooden stakes to keep the boards strong. 


Next we used clear plastic from Home Depot as a liner and started to fill it up with our fingers crossed.  Our yard is not level so we ended up adding another board on the back of the rink by the playhouse, that way we had at least three inches of water in the shallow end.


While everyone was taking their Christmas lights down after the holidays we were decking out our backyard for night time skating ambiance.


This is where I was planning to have a hot chocolate station but we always went inside for cocoa to warm up.


Mr. 65th lacing up for a skate under the moonlight.  Of course we had to have Van Morrison's dancing in the moonlight playing that night. 

We used a pool noodle where we got on and off the ice to protect the plastic liner from a toe pick tear.


After the little one went to bed one night we dug out the old baby monitor and had a date night skating under the stars, it was very romantic.


After skating we would drag the hose out from the basement and put a thin layer of hot water on the ice to smooth it out.  We did this at night when the tempeature was below freezing and there was no snow in the forecast.


The little one is turning seven next week and decided to have an ice skating party at the rink where she takes lessons.  I found the cutest invitations from an Etsy shop that I will share soon.


Her request seemed appropriate considering how much fun we had skating this winter. 


The ice melted and we took the rink down this weekend.  I'm sad to see it go but I'm ready for winter to be over and for the nice weather to be here. 


Sharing with the CSI project

Sunday, December 23, 2012

Christmas at our house 2012

I can finally breathe a sigh of relief because everything is wrapped and the house is ready for the holidays.  We are having our traditional Christmas Eve party tomorrow night, then we stay home in our jammies and play all day on Christmas. 


Instead of making a wreath this year I bought a swag at whole foods and put our initial on it like I did
last year.

A nursery close by was selling tree tops for five dollars so I bought a couple for the outdoor urns.  Then I used leftover Christmas tree branches and some store bought greens to fill in all around it.  Simple and so easy!


For the little urn I replanted a little boxwood that I had in a clay pot this summer and then I used leftover greens again to fill in all around it. 


I went with real evergreen garland this year and it makes all the difference.  You can see before and after pictures of the exterior transformation here.

Let's head inside for a look around....


I kept the snowflakes going from our Christmas card photo shoot but changed the words.  We are really wishing for snow this winter. A white Christmas would be even better!

We always head out to the tree farm to hunt for the perfect tree. This year we were wandering around for over an hour looking for just the right one.


This guy is on the skinny side because I was a little traumatized by the size of our tree last year, he blocked out all of the sunlight it was so big!


Our big tree has special ornaments that have been collected for years.  The Eiffel Tower is new this year from Pottery Barn. 

I went with white and brown craft paper again and dressed them up with pretty ribbon. 


I am loving these chalkboard tags from Martha Stewart, chalk markers help your message stay put.  You can even erase and rewrite using a damp paper towel. 


More chalkboard on the faux mantel in the dining room.


I had fresh garland hanging around the old window but took it down when it wouldn't stay put so I replaced it with a fresh evergreen swag.  


The little dresser in the hallway got some lovin too.


Remember the five dollar tree topper I talked about for the outside urns?  Well, I had a genius idea to use one as a table top tree.


I popped one into a galvanized pot held in tight with florist foam and got decorating.


Here it is all decked out in a woodland theme sitting on the buffet in the kitchen.  As you can see I gave it a good spray with some "snow".


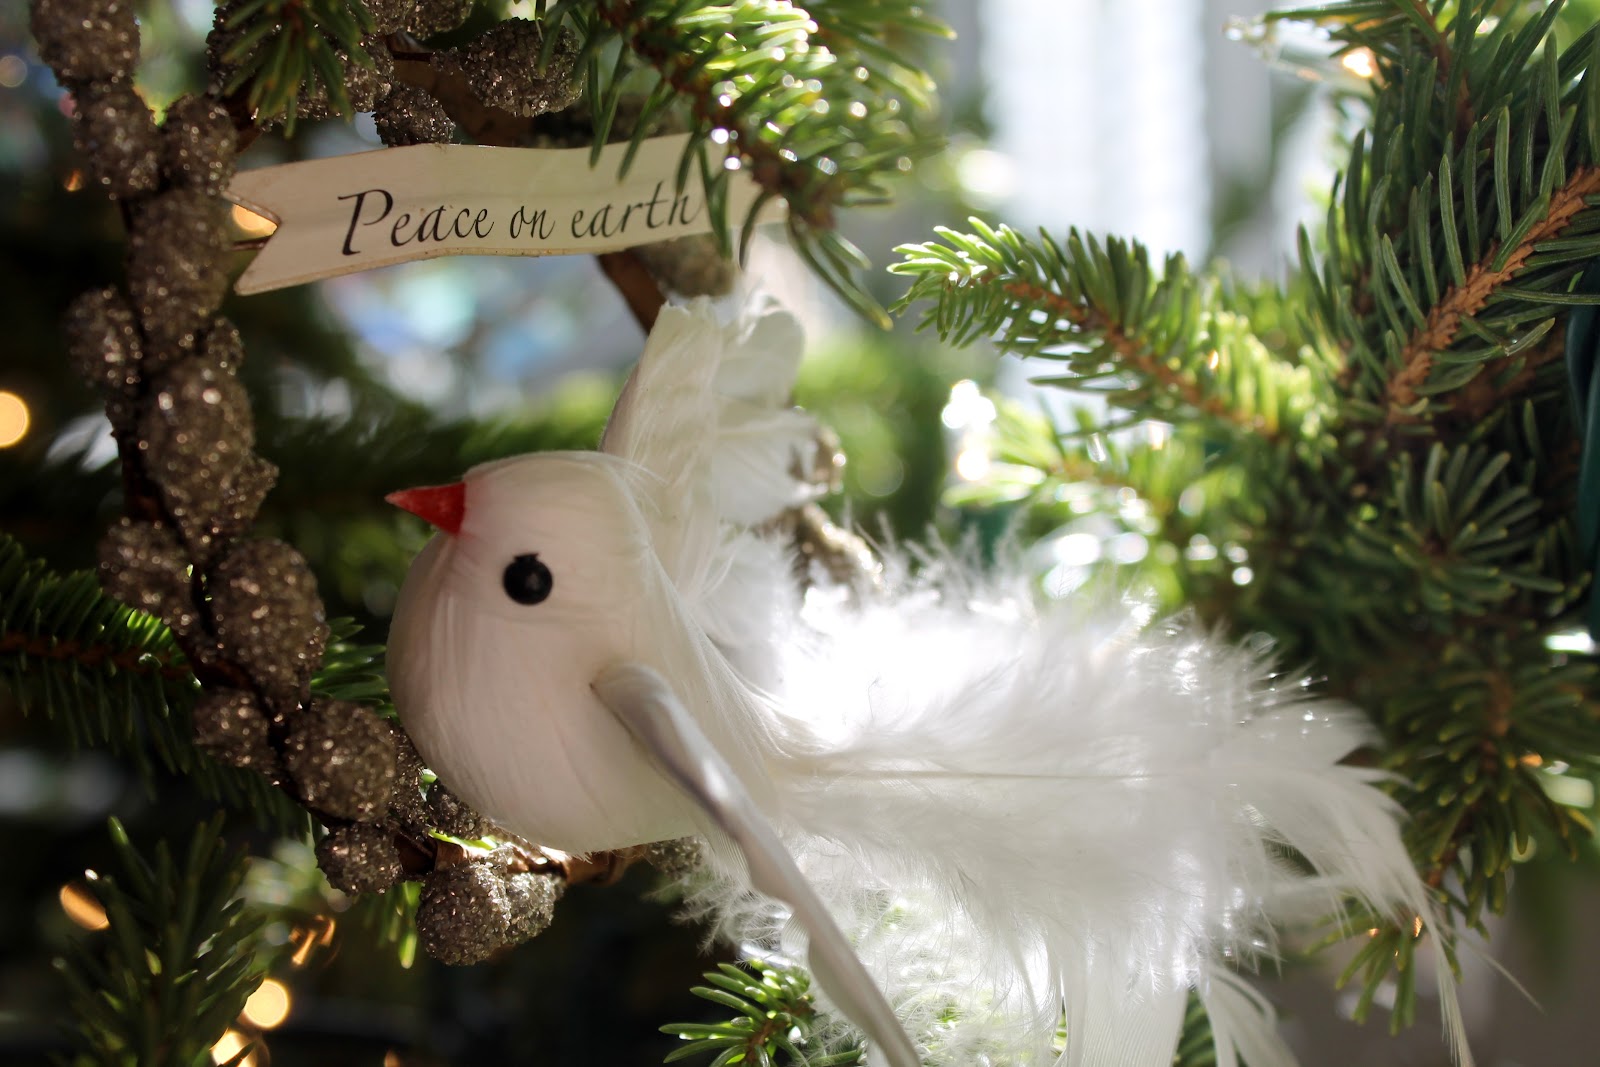
A few new ornaments like these acorns mingle with garage sale pinecones. 


And cute homemade mushroom ornaments. Tutorial found here.


I put together a Yule log using a birch branch, moss, acorns and a mushroom ornament from Target.  The center is hollowed out a bit to hold the moss. 


The squirrel is new this year too, I love his sparkly tail!


I will end this very long post with a couple bokeh pictures I had fun playing around with.  I was inspired to try it out after reading this post from Honey We're Home.  I was so excited it worked!


From my family to yours, I hope you have a very Merry Christmas!


Sharing with the Nester for her famous Christmas Tour Of Homes.

Friday, December 14, 2012

Christmas card picture 2012

I should not be sitting here all cozy on the couch with my laptop writing this post because I still have a ton to do around here before the day is over.  We are heading to my dad and stepmom's log home in Wisconsin tomorrow, then when we get back on Sunday, my mom and her husband are coming over for an early Christmas get together.  I work well under pressure so it will all get done, it always does.

I usually take the little one's Christmas card picture in front of the tree, but this year we needed to do something different.  When she lost one of her front teeth earlier this month, I wondered if she would lose the other one in time for Christmas.  You know...so she could sing "All I want for Christmas is my two front teeth"!  I melt for her toothless smile. 


As you can see the other tooth came out just in time for pictures.  I know you guys have seen our kitchen chalkboard wall many times, I even took pictures of the little one in front of it for some of her first day of school pictures.  But lots of family and friends have not been over exposed to it so I thought it would be fun for the occasion.

Here are a few outtakes that didn't make the cut...


This was the last picture I took during our quick five minute photo shoot.  I can take a hint.

Ok, off to get everything checked off my list today.

Have a great weekend!


Thursday, December 6, 2012

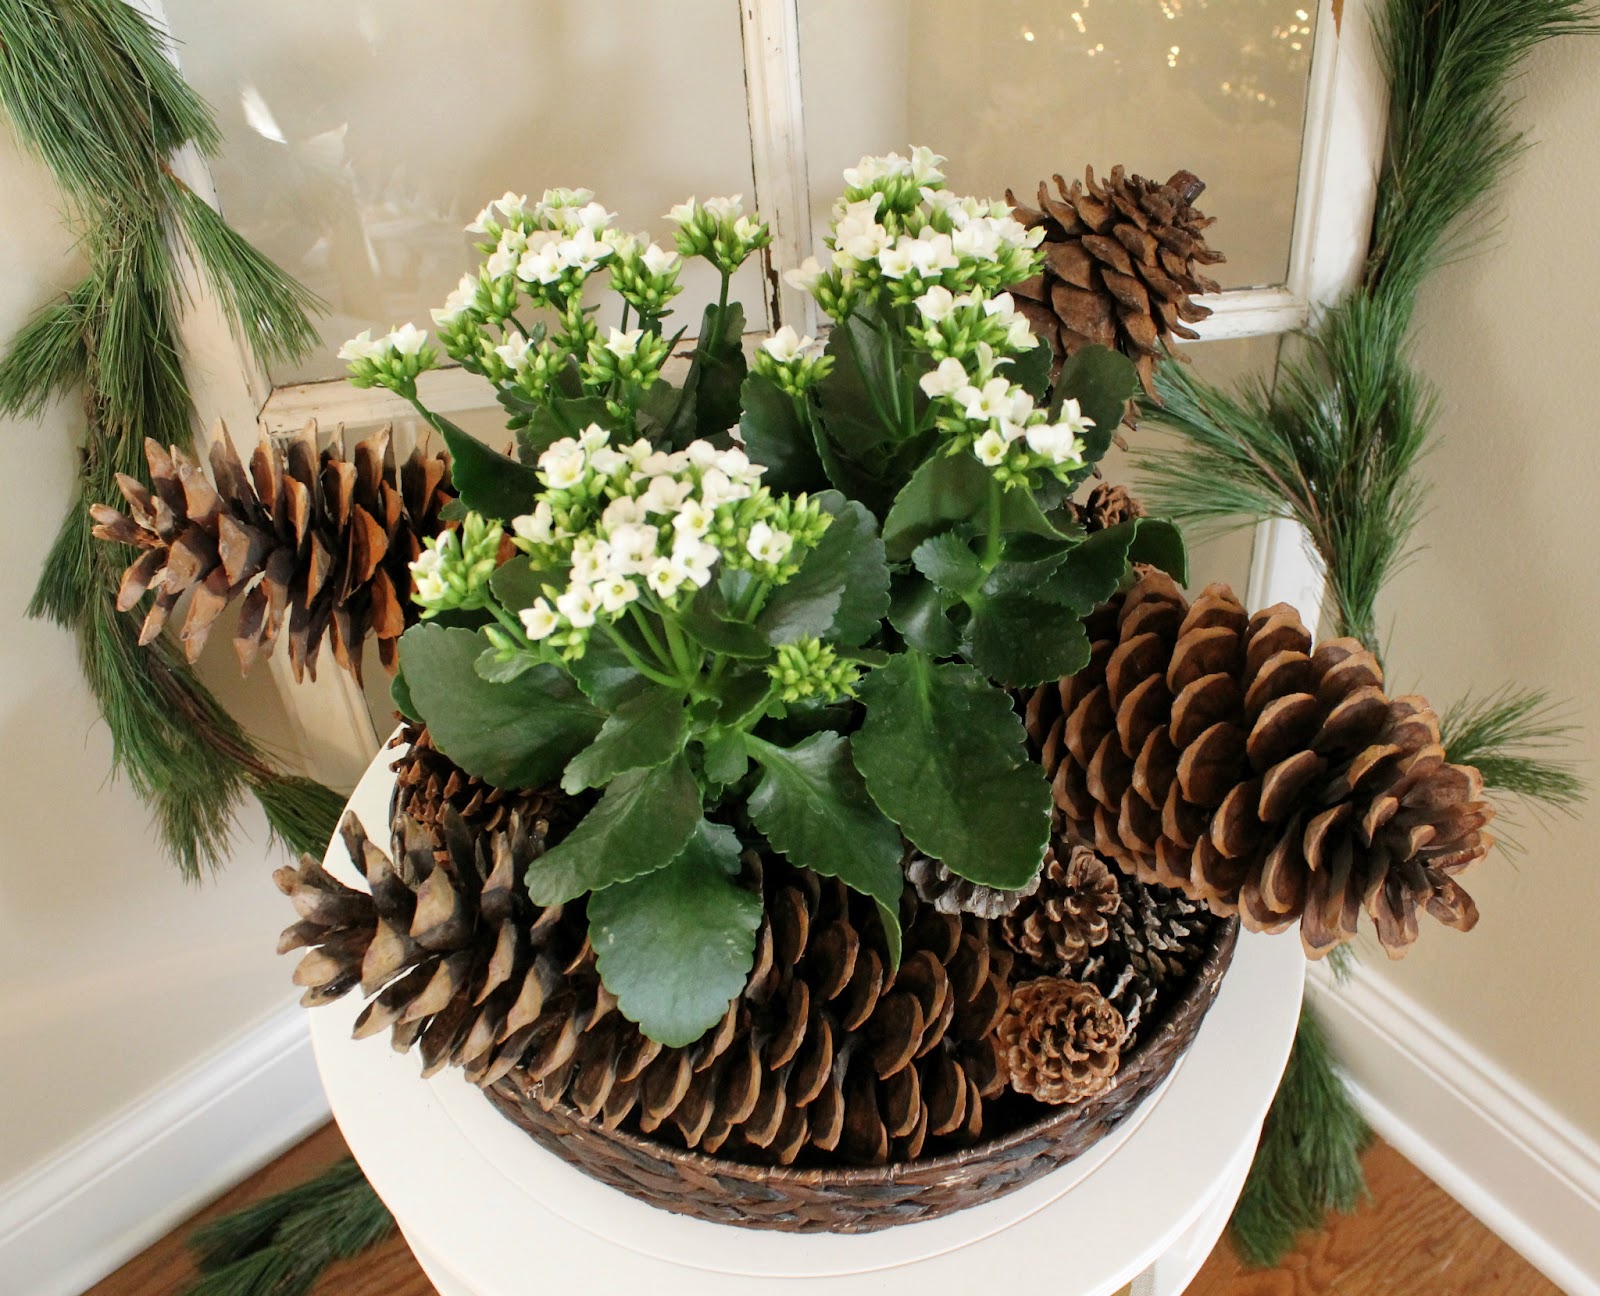
giant pinecones for Christmas

Well hello there.  I thought I would pop in today and share one corner of our home that is ready for the holidays.  I have been trying to get some order to this crazy house full of Christmas boxes and everything else so I can finish decorating.  The dining room table is buried and the floor isn't looking much better!  Little by little right?

Yesterday I was spinning my wheels working on a few projects only to finish this ten minute arrangement using my favorite giant pinecones.

 
I had planned on using paperwhites but I didn't plant the bulbs in time so I picked up this flowering plant at Home Depot.


Small pinecones are good fillers for the empty spaces between the big guys.  I don't think there is a time of year you won't see a pinecone or two at our house, we kind of love them.

 
A quick draping of fresh garland and a Merry Christmas sign wraps up this little corner of the living room.


I'm off to find my dining room table and finish a few more projects.  Have a fabulous day today!


Sharing with Rhoda @ Southern Hospitality for her holiday vignette party.

Wednesday, November 21, 2012

Thanksgiving arrangement

Do you still have a few pumpkins hanging around?  We had lots of them so I carved a few to use as a festive vase.

 
This is so quick and easy I thought I would share, the possibilities are endless.
 

First carve out your pumpkin of choice, it doesn't have to be perfect.


Find a container that will fit snugly inside, I used a small mason jar for this one. 


Add your flowers and enjoy.  A perfect addition to your holiday table or as a hostess gift.
 
 
I hope you have a wonderful Thanksgiving!


Site design by FABULOUS K CREATIVE