Saturday, June 9, 2012

a new Potting bench

The other day I ran out to do a few errands, it was a beautiful day with birds chirping loudly and the sun shining bright.  I decided to take the long way and enjoy some quiet time when I came upon a garage sale.  I popped in just for fun and found this rusty old work table just waiting for me.


A little backstory...does anyone remember the potting table we put together a couple years ago using a barn wood door and a 1970s kitchen table?


Well, I pulled it out of the garage planning to give it a fresh coat of paint when I decided I wasn't loving those country legs since our house morphed into a craftsman style cottage. 

I was craving something a bit more streamlined...still rustic, just different. 

When I found out the "rustic" wood top came right out of my new find I knew it would be really easy to spray paint, perfect!  First I used a wire brush to get all the loose pieces of rust and paint off.  Then I went over the entire piece with sandpaper to make sure it was all cleaned up.


I used Rust-oleum rusty metal primer and two coats of painters touch flat black, also by Rust-oleum.


This workbench was sitting in storage for many years unused, now it has a new life as our potting bench/buffet for the grand total of twenty dollars including paint. 
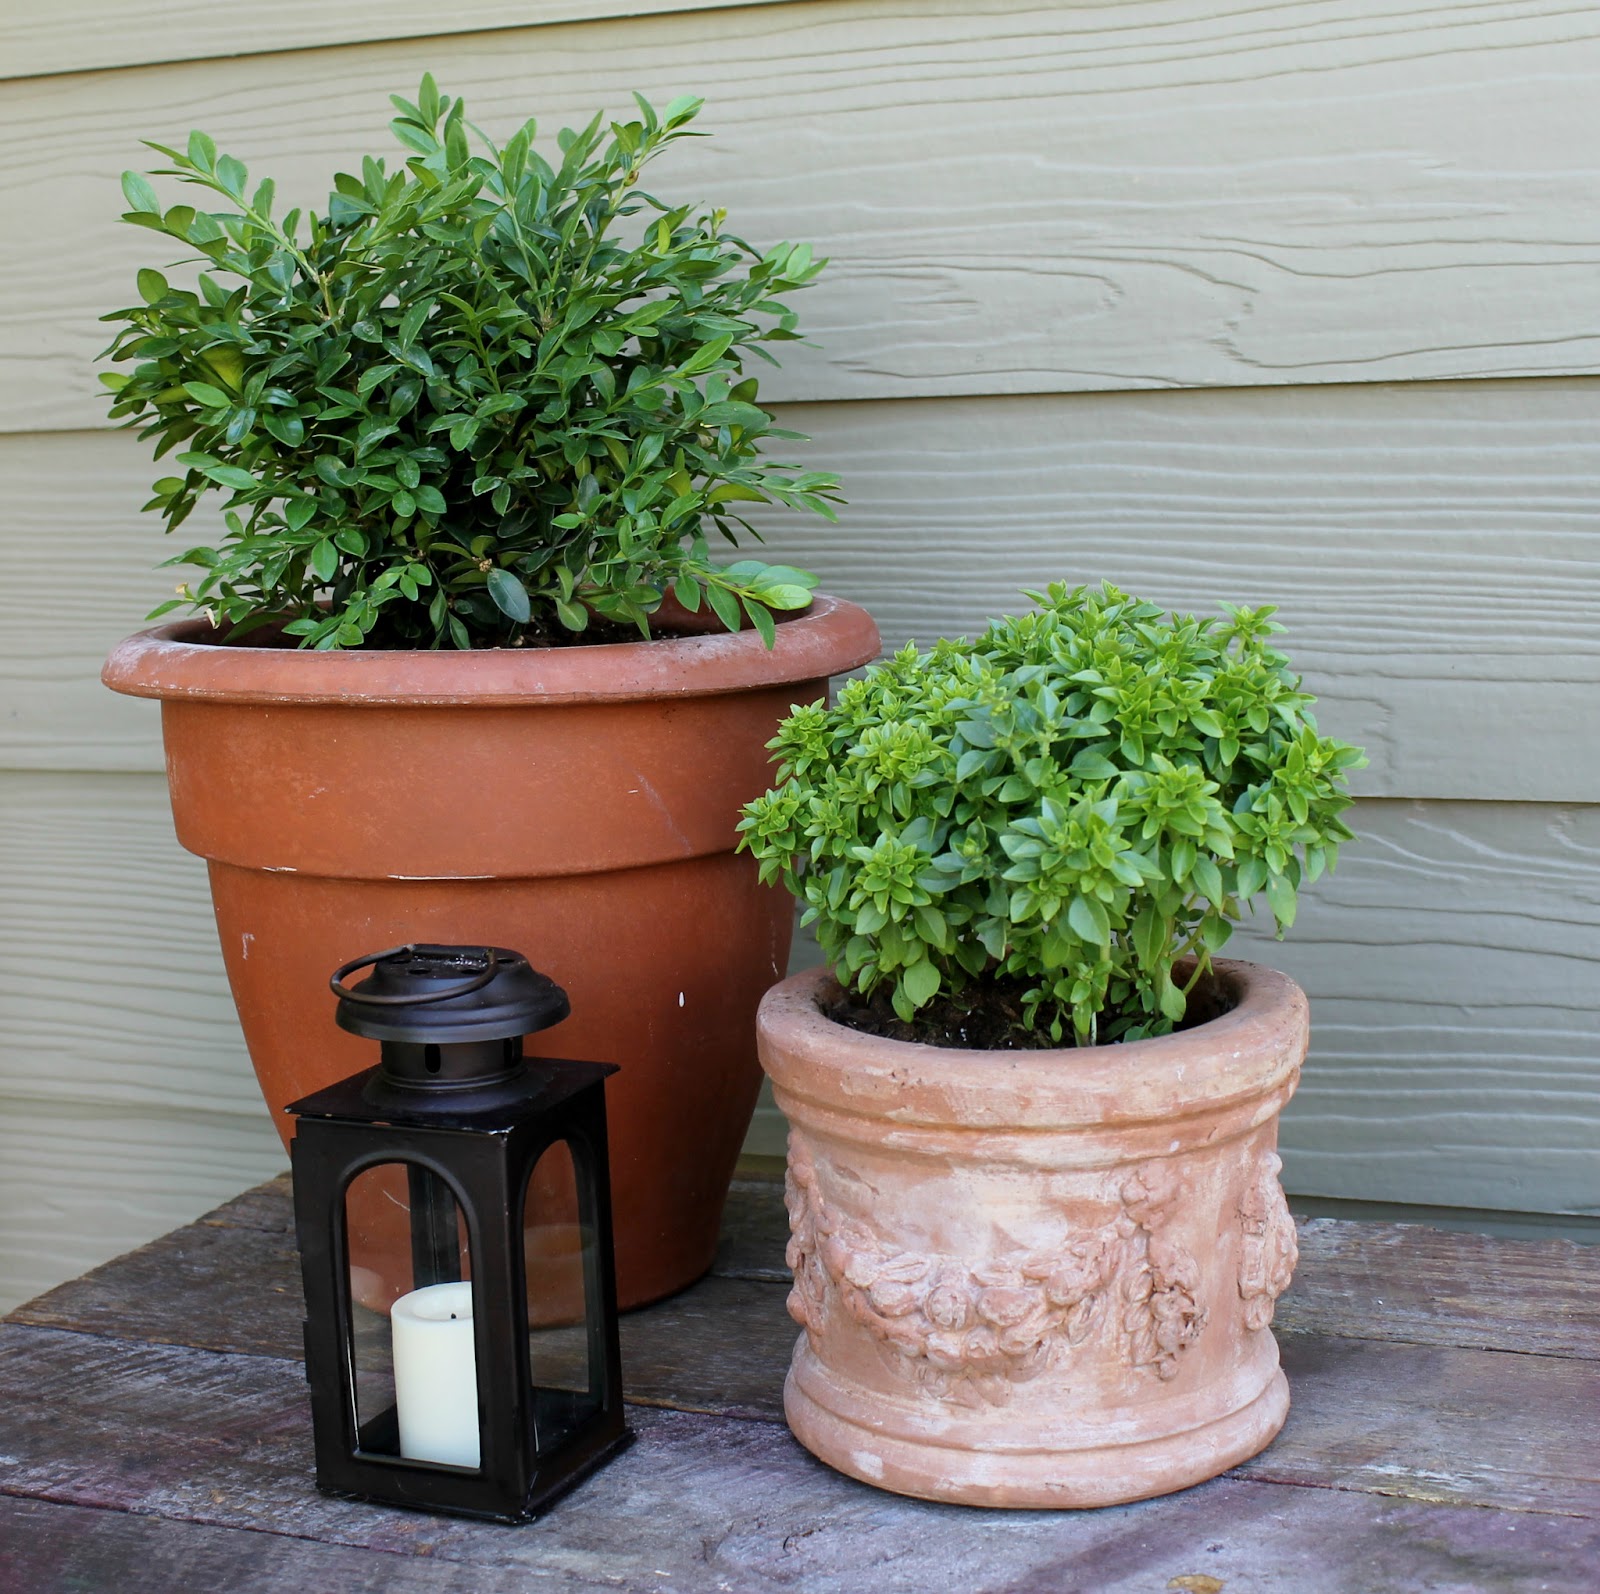

Every summer I grow basil along with a few other herbs, this year I bought this cute boxwood basil and paired it with a small boxwood shrub, both from Home Depot.

The top of the table was going to get cleaned up with my palm sander but I think I like the ickiness of it for now, it adds character.


Now the hunt is on for a different side table, something made of wood would be a better fit with all the black metal going on here.


Sometimes taking the long way home will lead you to your next treasure.  Happy hunting!

 
Sharing with Cassie @ Primitive & Proper  Check out her blog for lots of furniture projects!


Wednesday, May 30, 2012

New Pillows for the outdoor family room

Our outdoor pillows have seen better days so I started looking for something new.  I was getting frustrated with my search...they were either too big, too poofy, too expensive, the list goes on.  So I reached out to a sewing friend hoping she would whip up a few pillows for me.  I even looked into buying a sewing machine so I could learn how to make my own pillows.


Both good options, but I wanted to have this space put together yesterday if you know what I mean.  Summers are short here in Illinois so it's good to be ready when the nice weather arrives.

Over the weekend I made a last minute stop to Pottery Barn just to take one more look.  That's when I saw the clearance table in the back of the store filled with outdoor pillows. 


Pillows that were hiding in the storage room since last year waiting to be sold on deep discount.   I brought home a bunch and played around with a few combinations until I settled on what you see here. 


The parrot chinoiserie pillow called Carmello and the Bhotah pillow were both $11.99.  They are not available online but some stores still have them in stock.  They would be great inside too, the fabric is very soft.


I planted a few succulents just for this spot but realized they won't get enough sun here. 


So I moved them to a sunny spot in our yard and brought them back on the deck for pictures tonight.  Lowes has a nice selection if you are looking for them.


This hens and chicks succulent are from the fairy garden last year and lived on my nightstand all winter.  Maybe I should try keeping the new plants up here for a bit and see how they do.  Hmmm....


 If you're curious, Here  is a link showing what this space looked like a couple summers ago.

Enjoy the rest of your week!

Sharing this post with Nita at Mod Vintage Life and Eclectically Vintage below.

eclectically vintage

Sunday, May 6, 2012

A tiny garden in the dining room

Hello...I'm still here.  I've been jumping from project to project as I do and not quite finishing anything.  My mind is swirling around with so many ideas it can be hard to concentrate sometimes. 

One little project that was started and finished is this tiny indoor garden.  It was really quick, easy and inexpensive, my favorite kind.


I've had this heavy urn for years but never thought to bring it inside.


It doesn't have a hole for drainage so I just covered the bottom with rocks.


The fence, birdbath and plants were found at Pesche's garden center.  I was really impressed with their selection of plants and fairy garden accessories, if you are in the Chicago area Pesche's is worth a visit.

I found out about them when I was contacted by the owner, he wanted to use one of my pictures for his ad in the Chicago Tribune.  Here is our little one in the ad that was on the front page of last Thursday's paper!  Here are a couple links to see our fairy gardens here and here if you missed them.


On another note, what do you think of these huge shades on the dining room chandelier?

With or without?


Since we are here in the dining room I thought I would share how we acquired our antique table.   Mr. 65th found it on Craigslist for $75.00 right after we bought this house.  I don't think there was a picture and the description didn't say anything about the entire table top being covered in laminate!  The elderly lady we bought from said a door to door salesman came by with laminate samples promising to make the table more durable.  She said she did everything at this table from rolling out dough to feeding her five children everyday.

I loved the simple shape of the pedestal and the fact that it came with two leaves so we took a chance and bought it.  We took it to a furniture refinisher and they were not sure they could remove the laminate without causing damage to the wood, they didn't even want to try saying it was worthless.  We told them to go for it and were thrilled when we got the call saying the surgery was a success!  I think that icky laminate kept the table in beautiful condition all those years. 


Sharing with Kate@Centsational Girl for her garden pary.

Tuesday, April 10, 2012

Butterfly Birthday Party

Well it's official, our baby girl is six years old.  Sometimes when I see someone with a baby in their arms I think, I had one of those once, where did my baby go?  It really does go by fast!  Our birthday girl wanted to have a Butterfly Party this year.  I kept it simple with flowers and little touches of nature.   I had a lot of fun putting everything together for her special day.


The dining room table became craft central while I hot glued paper butterflies to ribbons and moss to a wooden number six. 


All the girls had butterfly wings waiting for them on their chair.  The wings and clip on flowers are from Halo Heaven.


A big bowl of crayons and paper butterflies were on the table for coloring.  The masks are from party city. 


For the other side of the dining room I forced Forsythia branches inside.  I brought them in a week before the party and because of our crazy warm March weather they bloomed overnight!  I didn't think they were going to last but luckily they did. 


A birch log with holes drilled into it hold a Happy Birthday message.  The butterfly shaped cards are actually thank you notes that come with pretty envelopes found at Target.  I used them here and on the buffet, I love the colors and still have enough cards to send out.  Hot glue to the rescue again.


I made chocolate butterflies from a mold I picked up at a cake supply store.  The candy is so easy to make and it's yummy too!  I got the idea to use the log as a holder from this pin.  Amanda has some amazing party ideas on her blog. 


I had a little pot of tulips in this urn and decided it needed something more so I added a few store bought lilies and Red Bud branches from our tree.  I bought water tubes from a craft store and stuck them right into the dirt to hold the lilies and branches in place.


I was inspired by Shelly at the House of Smiths to use these small jars for kids drinks, they are the perfect size for small hands.  Mr. 65th drilled a hole in the center and filed it smooth to hold a straw.  I used a few envelopes from the thank you cards to cut out butterflies for the girls names.  Paper straws are from Shop Sweet Lulu.


I am proud to share with you the first cake I have ever baked.  Well, I did a test run before the party to make sure it turned out ok so this is technically my second cake.  I was inspired and encouraged by my friend Stef who blogs at Girl. Inspired.  She is a girl with many talents...she sews, bakes, decorates and throws incredible parties.  Stef did a post showing how to make a really cool colorful cake here...I followed her directions but made mine pink ombre.


Little ones colorful headband was made by this Etsy seller.


We had such a fun day! Thanks for hanging out with us.

Saturday, March 31, 2012

A Spring wreath and a new mailbox

The exterior remodel was finished right before Halloween and ever since then our old mailbox was just sitting on the bottom porch step.  It was about time I made finding a new one a priority, although I don't think our mailperson minded saving a few steps everyday.


I ordered the envelope mailbox from Pottery Barn.  The price was reasonable and I loved the style and size...it's huge!


It was also time to change out the winter urns with some springy flowers.  Pansies are one of the very few annual flowers that will survive our crazy March and April weather. 


As a rule, all other annual plants wait until after Mother's day to be planted- that is usually our last frost-free date.


The front door was feeling a bit bare after taking the boxwood wreath down so I made a new one.  I used the same wooden frame and wrapped it in burlap this time.


I had no idea you could buy burlap garland.


I bought a new letter from Hobby Lobby and some sheets of moss and got busy with my hot glue gun.  


Little eye hooks and fishing line hold the H in place.


I added a pink butterfly clip for the little ones "Spring Butterfly Birthday Party".  I will share pictures with you soon.


Welcome Spring, we have been waiting for you!


Linking this post to Nest of Posies Spring Week.


Site design by FABULOUS K CREATIVE